Showing posts with label Christmas. Show all posts

Monday, December 19, 2016

Five Hand Embroidery Winter Patterns

Crafted Spaces is excited to introduce its' first winter hand embroidery collection. This embroidery collection features five beautiful holiday and winter motifs that can be used on many different projects. We are featuring these designs as 4" embroidery hoop ornaments, but you can scale the patterns to suite other projects. These charming little ornaments can be hung on your Christmas tree or given as sweet stocking stuffers for the holidays.


The designs range slightly in the amount of time it requires to create them, but they all have just a few simple embroidery stitches. Our online store offers a PDF download that you can purchase and receive directly in your email. We also have available, limited quantities of our full embroidery kits.

The embroidery kits include:
  • printed copy of the pattern
  • pre-printed 100% cotton pattern
  • instructions
  • ribbon
  • embroidery floss
  • embroidery needle
  • stitch guide
  • tracing paper
Transferring Your Pattern
There are several methods for transferring your embroidery pattern onto your fabric or other materials. The type of material you use will determine the best transfer method. The ornaments seen in this post, were made with eco felt. Felt is a bit heavy and the method I chose was to create an iron on transfer. To create the transfer I used tracing paper (transparent paper or onion skin) and an iron on transfer pen. I placed the paper over the "reverse" image of the pattern and traced over the design using the pen. I then placed the design down on my felt and used a dry, hot iron on the back of the paper. Any wax free tracing paper should be good for this process. I was able to find tracing paper at Wal-Mart and the dollar store.

Tip! Lift occasionally on one end to see if the design transfers successfully. Do not remove or shift the paper until the design has been transferred. With any method you use, it is recommended that you first test with a swatch of your fabric.

Embroidery Floss
Six-strand cotton embroidery floss was used in the projects shown. I chose white floss on a red background for a traditional holiday feel. I also think it will also look lovely on a natural linen fabric. I used DMC brand cotton embroidery floss in Blanc. Divide your embroidery floss by pulling apart three stands together. For the projects shown, three strands were used for all of the stitches except the French Knots. The French Knots were made using six strands (three strands doubled over). You can vary the thickness of your stitches by changing the number of strands you choose to work your stitches. I suggest playing around with the number of strands you use and see what you like best.

Finishing Your Embroidery Work
To finish the back of the embroidery ornaments, I tied off and trimmed the threads. I then trimmed away the excess fabric, close to the edge of the hoop. Using a small amount of fabric glue; I then attached a piece of felt cut to the size of the inner hoop. You could also use another type of glue, just ensure that it will not show through the layers of your fabric. The method I choice for finishing these embroidery ornaments can also work for other projects. I then tied a length of ribbon to hang.


Crafted Spaces Holiday Embroidery Collection is available here!
Check out our Pinterest board for great links to other embroidery resources.

Wednesday, December 10, 2014

Holiday Gift Wrapping


Wrapping gifts for the holidays is one of my favourite things to do. I love making them look special and they look wonderful under the Christmas tree. If you will like to make your holiday gifts a little more special this year, why not add a little embellishment to your gift wrapping. Dress things up with bits of nature, beautiful ribbons, beads and perhaps even a little bling or glitter. I hope this little tutorial will give you some ideas on how you can wrap your holiday gifts.


Materials
Gift Box
2 Paper Doilies (size based on box)
Gift Tag
Small Pine Cone (optional)
Narrow Ribbon
Wide Ribbon
Jute or Baker’s Twine
Hot Glue Sticks
Hot Glue Gun
Scissors

Instructions
1. Centre the doilies on top of the gift box and secure with a small bead of hot glue. Then wrap the ends of the doilies around the top edge of the gift box. Secure the ends of the doilies with small beads of hot glue on all sides (you can also use double sided tape).

2. Wrap the narrow ribbon around the gift box and tie at the top centre.

3. Make a ribbon loop with the wide ribbon, then tie the ribbon loop to the centre of the gift box using the ends of the narrow ribbon. Cut the ends of the ribbons to the same length at an angle.

4. Hot glue the pine cone onto the gift box next to the bow.

5. Attach twine to the gift tag and tie the twine under the bow.


Happy gift wrapping.

Tips! Depending on how thick your doilies are you should use two doilies stacked on each other. The beautiful gift tag used for this project is from Gotamago at www.gotamago.com.


Wednesday, December 3, 2014

Jute Ornament


I love making holiday decorations and I am very excited this year to get started with some fun projects. This jute ornament can take a little time to make, but it is very fun and super cute for holiday decorating. You can make a loop for hanging or you can simply cover the styrofoam ball in jute and put on display. You can make them all the same size or you can vary the size of the styrofoam balls.


Supplies
Styrofoam Ball (desired size)
Jute Twine
Hot Glue Sticks
Hot Glue Gun
Scissors

Instructions
1. Turn in the end of your twine and glue onto the styrofoam ball with a small dot of glue.

2. Place a small bead of glue on the styrofoam ball close to the twine and wrap twine around the first piece of twine.

3. Continue the process of gluing and wrapping in small sections at a time until you cover the surface of the styrofoam ball and you are left with a small opening on the opposite end.

4. Cut the remaining twine to your desired length to make a loop for your ornament to hang from, or cut close to the base and leave just enough twine to fill the final space on the styrofoam ball.

5. Place a dot of hot glue in the middle of the small opening and press the end of the twine into the space.


Now your ornament is ready to use. Have fun!

Wednesday, December 25, 2013

Happy Holidays 2013


Thank you for your amazing support in 2013. Your visits to the site, sharing your comments and joining Crafted Spaces Radio broadcast and social media has been greatly appreciated. I am blown away by just how much Crafted Spaces have grown this year. I am excited about the coming year and I look forward to connecting with more of you in 2014.

Best wishes to you and your family!

Yvette-Michelle Cottle Darby
Crafted Spaces

Wednesday, December 18, 2013

DIY Holiday Gift Wrapping


Wrapping gifts is a holiday favourite of mine. I love finding creative ways to present my gifts and I prefer to use materials that can be reused or is recyclable. I think that an important part of gift giving is the presentation and there are so many ways that you can present a gift.


I like to get my Christmas shopping done early, which allows me to take my time with the wrapping. Each Christmas I like to do something different so I generally give some advance thought to what supplies I would need. After I have gathered my supplies, I prepare an area that I can designate as a "wrapping station." This year I have kept things simple and have chosen basic Kraft paper, Kraft paper bags, jute, yarn and red velvet ribbons. I purchased a roll of Kraft paper from Wal-Mart and found Kraft paper bags at the dollar store. The red velvet ribbons are from Chapters and HomeScene. The jute and yarn are left over from previous projects.


Other great options are strips of vintage fabric or bias cut fabric, which I use as ribbon. I have also sewn fabric bags as an alternative to paper gift bags. Newspaper comics and regular news print are also fun alternatives to wrapping paper.

If you are looking for other great holiday gift-wrapping ideas, I have rounded up some of my favourites:
Happy gift-wrapping!

Wednesday, December 11, 2013

Christmas Arrangement


I love natural flowers and during the Christmas holidays I really love getting natural red and white poinsettias. However, this year I decided to go for the silk version, given that my little guy loves to dig plants up. I made a Poinsettia Christmas Wreath and decided I will also make a few small arrangements.


Over the weekend my husband and I made a trip to Ikea and I purchased a pair of their SKURAR candle holder, which I used as my containers. Creating the arrangement was super simple and only took a few minutes. I gathered a few stems of silk poinsettia (thrift store find) in your hand, tied them together at the base with some jute and cut the length of the stems to the height of the containers. I simply placed the small bouquet of flowers in each container and put them on display.

I hope that this has given you an idea for a quick and simple arrangement for the holidays.


Wednesday, December 4, 2013

DIY Poinsettia Christmas Wreath


I have had the same Christmas wreath for a few years now and I really wanted to make a change. The wreath I had was artificial greenery with pinecones, which over the years I would freshen-up with new ribbon and other embellishments. However, this year I wanted something different with more colour. I decided to make a poinsettia Christmas wreath that will be the focal point for my front door Christmas decorations.

I reused the grapevine wreath from my spring wreath and I combined two types of poinsettias along with some gold glittered poinsettias. I removed my spring flowers, cleaned up the grapevine and attached the poinsettias with hot glue. I started hot gluing the poinsettias from top centre and continued anti-clockwise. I alternated between the two types of poinsettias and added a bit of shimmer with two medium gold glittered poinsettias. Having the different textures in the poinsettias creates more dept and contrast and prevents them from merging into the same shade of red. The two gold glittered poinsettias were glued close together to match the volume of the larger blooms. I finished off the wreath by adding a few of the poinsettia leaves; which I think adds more interest.


5 Large satin poinsettias
5 Large velvet poinsettias
2 Medium gold glitter poinsettias
Poinsettia greenery
Grapevine wreath
Hot glue
Hot glue gun

I hope that this project will inspire you to make your own Christmas wreath. I have several other projects I am working on for Christmas that I hope to share with you before the holidays.

Wising you all the best with your holiday planning!

Sunday, December 23, 2012

Happy Holidays 2012


Wishing you and your family all the best for the holiday season. May your days be merry and bright!


Thursday, December 20, 2012

Handmade Christmas Wish List

I wanted to share my Handmade Christmas Wish List. Mind you, it is more of an Etsy wish list given that all of the items are from some wonderful Etsy shops I found. I just adore these beautiful handmade treasures and will love to get at least a few of the items.

If you are looking for last minute Christmas gifts, perhaps this will give you a few ideas. The image below is a snapshot of the "Treasury." I have also provided links to the items, from top left to right.

via Crafted Spaces on Etsy

Links to items:

Robe Set - Ortupes
Hand-Woven Cowl - Tactile Dactyl & Co.
Earrings - Bella Anela Jewelry
Organic Lip Balm - Winsome Green
Knit Leg Warmers - Three Bird Nest
Leather Tote Bag - Dodo
Organic Essential Oil - Belle River Naturals
Shirt - Gitas Portal
Hand Printed Napkins - Anna Joyce
Stamp - Yours Is The Earth
Cotton Wallet - Cotton Purr
Squirrel Pillow - Secdus
Hand-Woven Cotton Blanket - Bambino Castello
Nesting Lotus Bowls - Whitney Smith
Linen Bedding - iPure Linen
10" Ruffle Cake Stand - Vessels and Wares

* If you are unable to link to these items, you can also do a search on Etsy for the shop names.

I have never purchased from any of these vendors, so I cannot provide an insight into the quality of the items or services, but I do love their collections. I have purchased from the Etsy site before and I have had a good experience. I also have an Etsy shop and will be adding more items in the New Year.

What are some of your favourite Etsy shops?

Happy Shopping!

Wednesday, December 19, 2012

DIY Etched Glass Votives


I have been getting ready for Christmas, and candles are one of my most favourite ways to decorate. I decided to repurpose a pair of plain glass votives that I bought several months ago. After using the candles that originally came in the glass votives, I wanted to keep using them, rather than sending them off to the recycling bin.

Glass etching cream has a wonderful way of adding new life and a wonderful decorative touch to plain glass pieces. It can also be a perfect gift for the holidays. As fun as this project is, the etching cream can be dangerous to work with.  I therefore took a few safety precautions and I did the project in my laundry room (next to the sink and with the door open). I used two layers of craft paper on a board. This way I was close to the sink and had good ventilation. Another great location may be the kitchen, next to the sink with the windows open if possible.


Supplies:
  • Glass Item
  • Armour Etch Etching Cream
  • Brush
  • Stencil, Sticker or Vinyl Adhesive
  • Rubber Gloves

First, I started by making sure my glass was clean. You can clean the surface of your glass by using rubbing alcohol, which works well for removing any residue. I then created my design by using a snowflake punch and vinyl adhesive. I peeled off the backing and pressing firmly to apply the snowflakes onto the glass. You can also use stickers or cut out a design. You will also want to make sure you do not have any loose ends or bubbles.


Next, wearing a pair of rubber gloves I applied the etching cream onto the glass very generously using a brush.


I let the etching cream sit on the glass for 10 minutes then washed it away under running water. You will want to refer to the instructions on your product for this part. I finished by drying the votives with a soft cloth.


*It is recommended to do this project close to a sink in a well-ventilated area and avoid contact with your skin by wearing log sleeves and rubber gloves. Please read the product instructions before use.
Wednesday, November 30, 2011

Crafty Christmas Gift Making

Every Christmas I find myself getting excited about making at least one handmade gift for the special people in my life. The gift options are endless, but usually fall into a handful of categories. Today I wanted to share with you a few of my handmade gift giving ideas.


Christmas Stockings - I wanted to make my little one a Christmas stocking. The added touch of the holly was inspired by a stocking project I found on Martha Stewart's website. You can also find other great stocking projects on the website. Click here for some added inspiration.


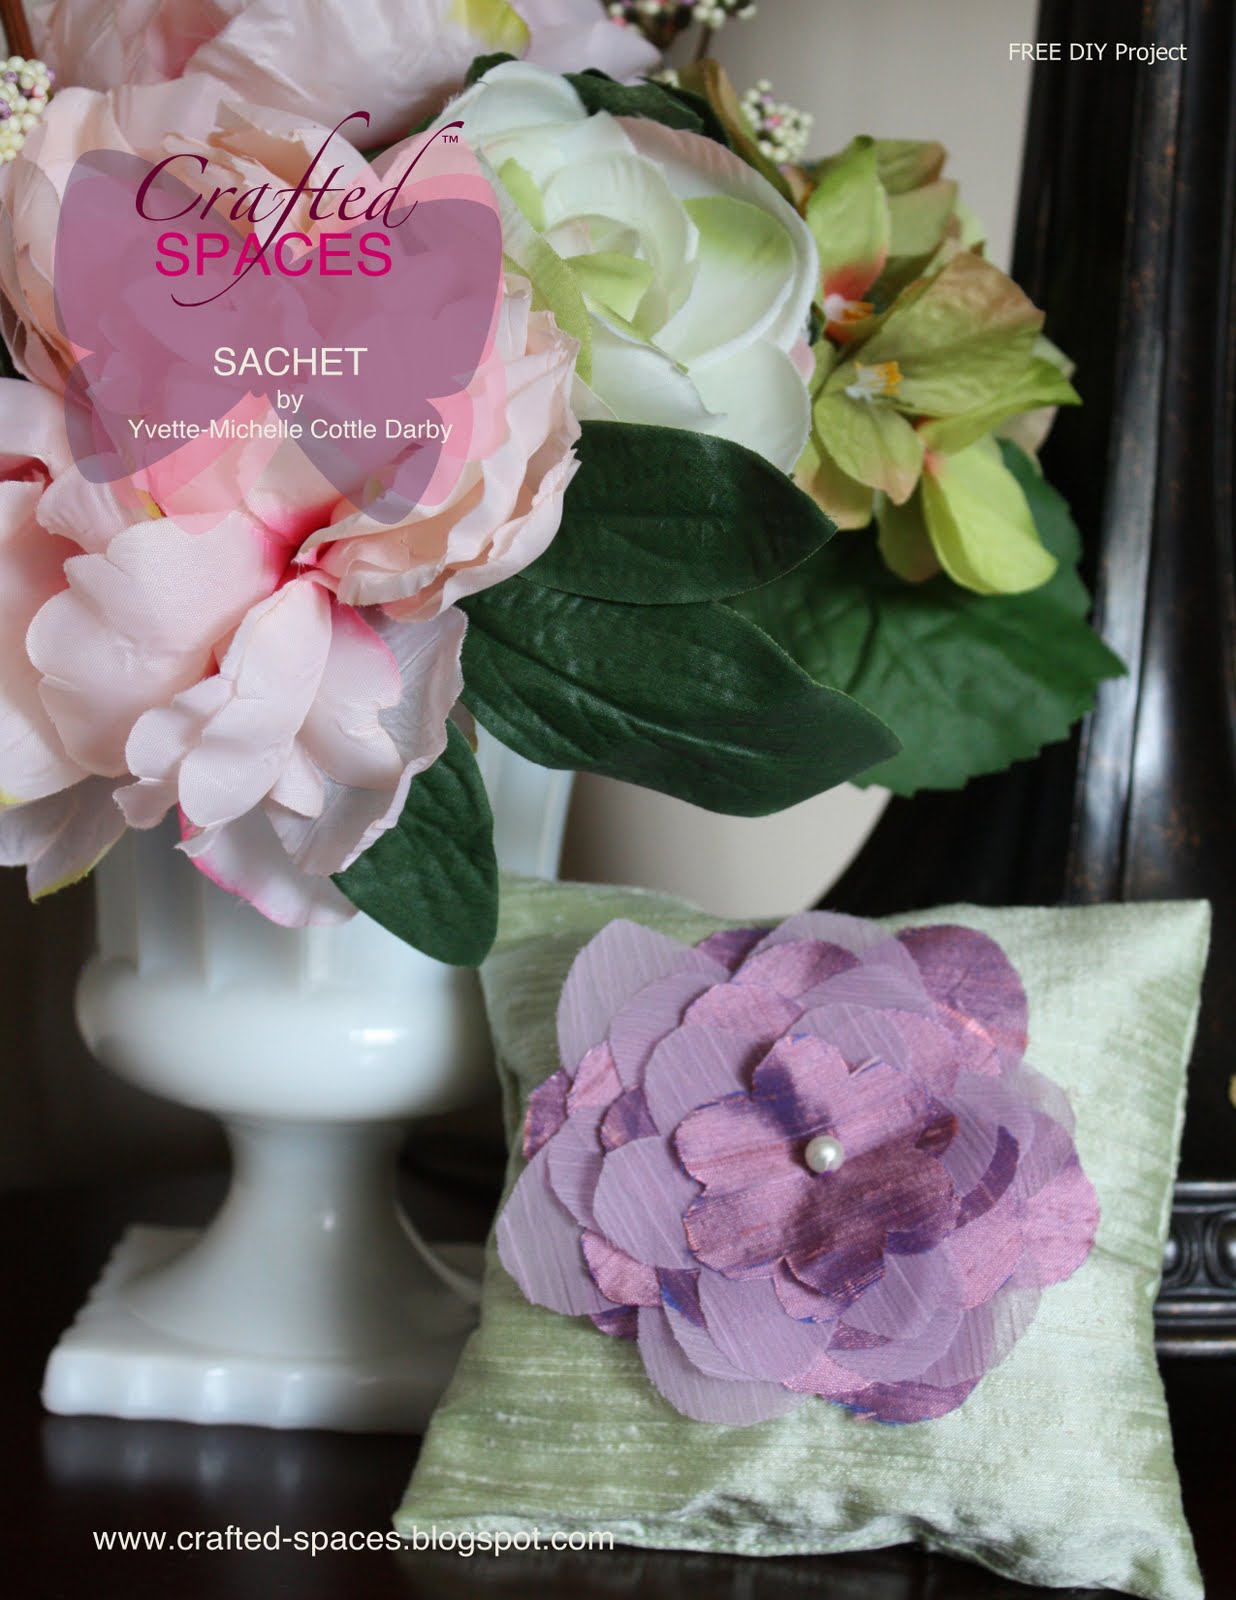
Scented Sachets - Scented sachets are easy to make and are great gifts that can be given on their own or in combination with other items. Check out our sachet DIY project  and make your own.

Book Cover - Making a book cover, for the avid reader on your gift giving list is a fun project. You can dress-up your book cover or keep it simple. Include an interesting book and you have a gift that is sure to please.

Pyjama Pants - One of the projects that our beginner sewing students make is a pyjama pants. They can be supper easy to make and there a lots of fun flannel prints you can choose from, for a fun winter or holiday theme. Great patterns are available via Burda or Butterick of example.

Teacup Pincushion - A Vintage teacup can be transformed into an ornate pincushion, for the sewer on your list. Check out our DIY instructions on how to make one.


Votive - Add a little Japanese tissue paper, and transform a plain glass votive candle holder or hurricane holder into something more dramatic. You can play with this and have lots of fun using a world of interesting paper.

Earrings - I love making jewellery as a gift. It you have a sense of the person's style then go for it. It is amazing to see your gift worn all year long, not just during the holidays. If you do not think you can make one, then give the gift of how to, by gifting a copy of this great jewellery making book.


Crochet Hat - I love making crochet hats and they can be made in a wide range of yarns in countless colours. If you are new to it, start with a simple pattern and go from there. There are many amazing yarns available at specialty yarn shops; however, an inexpensive and accessible place to start is online. Good sites to visit are Bernat and Lion Brand Yarn, their yarn is also available at craft and yarn shops and the websites have great tips and patterns available.

Fabric Handbag - Giving a handmade fabric handbag, is a gift that I never get weary of giving.

Scarf - Consider natural dyes for the creation of an original scarf. You can check out our post on making natural dyes, for some helpful tips on how to get started.

Join me over the next couple weeks, as I provide some great DIY projects that will make wonderful gifts for the special people on your list.

Enjoy!

Wednesday, December 22, 2010

Christmas 2010


Christmas is a time of joy and wonder. I grew-up in the Caribbean, but visited my grand parents in Toronto for Christmas throughout my childhood. The baking of old fashioned West Indian black cake and taking sips of sorrel, mauby, ginger beer and punch-of-cream is a continued tradition is my home. I have transported my Caribbean holiday traditions and combined them with my husband's Canadian traditions, creating what I think is a truly unique experience.

Decorating the Christmas tree is my favourite thing to do (just after eating the West Indian black cake). This is the second year that my husband and I got a fresh tree, and we officially donated our artificial Christmas tree. This year we journeyed out with our little family and chose what we think is the best tree we could find. The smell of fresh spruce fills the air and heightens the festive experience.

A special ornament is added to our collection each year. Each ornament is carefully selected and have has their own story. The colours are a combination of rich creams, golden tones with hints of green and ruby reds. They are in all shapes and sizes and hang from golden cords and satin ribbons. I wanted to share with you my favourite ornaments.


This is the first Christmas for Crafted Spaces and the first Christmas post. I will like to wish all those who follow our blog, as well as all first time visitors a very Happy Holiday and best wishes for the New Year.

Sincerely,
Yvette-Michelle Cottle Darby
Crafted Spaces

Related Posts Plugin for WordPress, Blogger...