I cannot believe that another week of our
Home Organization Challenge has gone by. This past week the focus has been on getting the living room not just clean and organized, but getting it functional for all members of the family. I have to say that I barely made it to this deadline, not because it was a big mess, but I really needed help moving furniture around, and it took my husband doing a big share for it to get done by this afternoon.
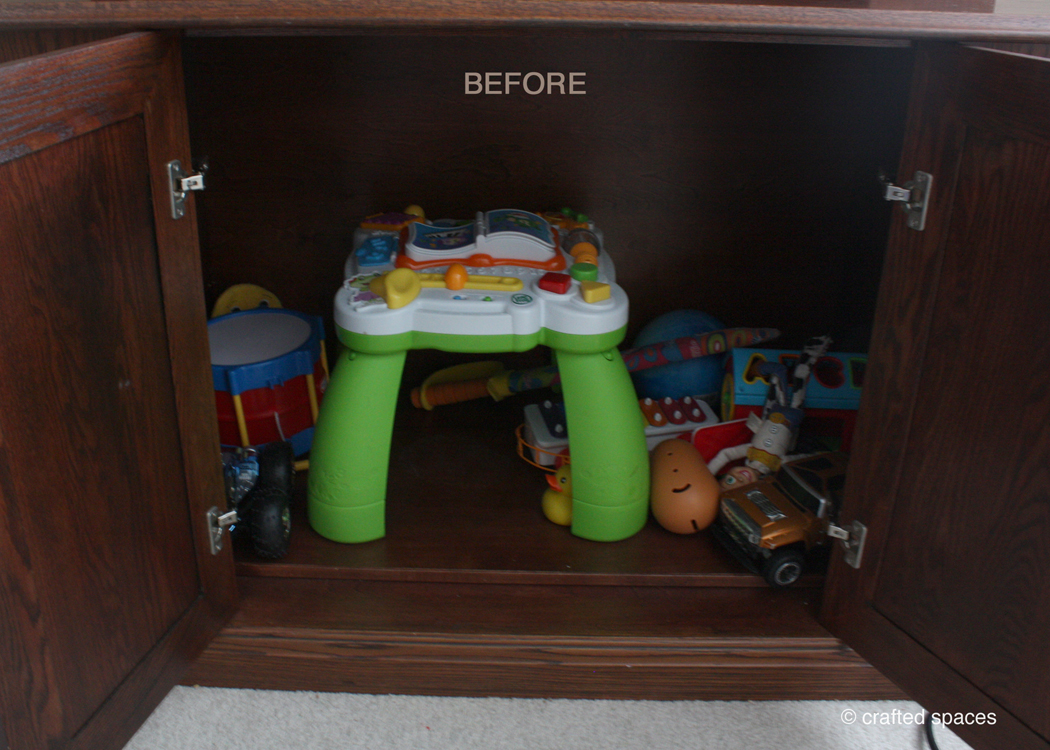
One of the main challenges of this room was the very large entertainment unit. The unit is a beautiful wooden piece with lots of storage space, but it seemed to overwhelm the room. The top of the unit was also becoming the place to get things out of baby's reach and items would fall behind on a regular basis. There were several pieces of furniture in the living room that just had to go in order to create more space and less clutter.
Another important factor is the pending makeover of the living room in the next few months. My husband and I plan on removing the carpet and laying hardwood floors, we already purchased the wood and are looking forward to better weather to get things done. Our living room serves so many functions that it was very difficult to find a solution that we felt will work in the long term. We had things looking very lovely before, but it was not functional as we needed to accommodate all of our activities and still stay organized.

If you are thinking of making similar changes, keep in mind that this is not a seamless process. Unless you have ample space or an empty room available, there will be some chaos before the calm. Most of the items that did not make the "final cut," are now sitting in my dining area. Some items will be donated during the week, while other items will find a place in other parts of the house. I recommend using boxes or baskets to categorize items and to help move things around. You should also think very carefully about how you want each room to serve your purposes.
Next week's challenge:
Week 3 - The Bathroom(s)
To Do List:
- Empty cabinets
- Wipe and clean cabinets
- Discard all empty bottles and purge expired items
- Organize cabinets and label items
- Organize medications
- Organize bath towels and toiletries
- Clean light fixtures
- Wash walls and wipe doors and knobs
- Clean bath area including grout
- Clean sink and drain
- Shine faucets
- Wipe and sterilize countertops
- Clean and sterilize toilet
- Clean and sterilize floors
- Clean windows and vents